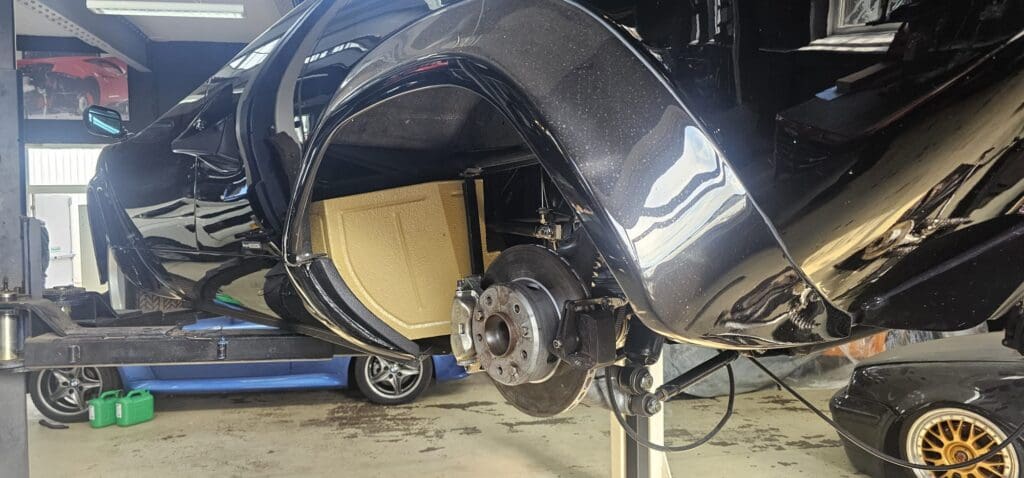
One of our long standing customers recently took delivery of his newly acquired Lamborghini Countach, a stunning 5000S model that had undergone a major restoration in Italy, sadly the excitement quickly turned to panic upon filling the vehicle with fuel for the first time, it sprung a major fuel leak on the petrol station forecourt. Upon its arrival in the workshop we pushed the car onto a ramp to assess the source of the leak, hoping for a simple fix such as a loose connection somewhere in the system, our optimism quickly faded when we found the leak was coming from the main structure of the fuel tank itself, removing the fuel tank on a Countach requires major surgery removing all of the suspension and running gear components within the wheel housing in order to slide out the fuel tanks,

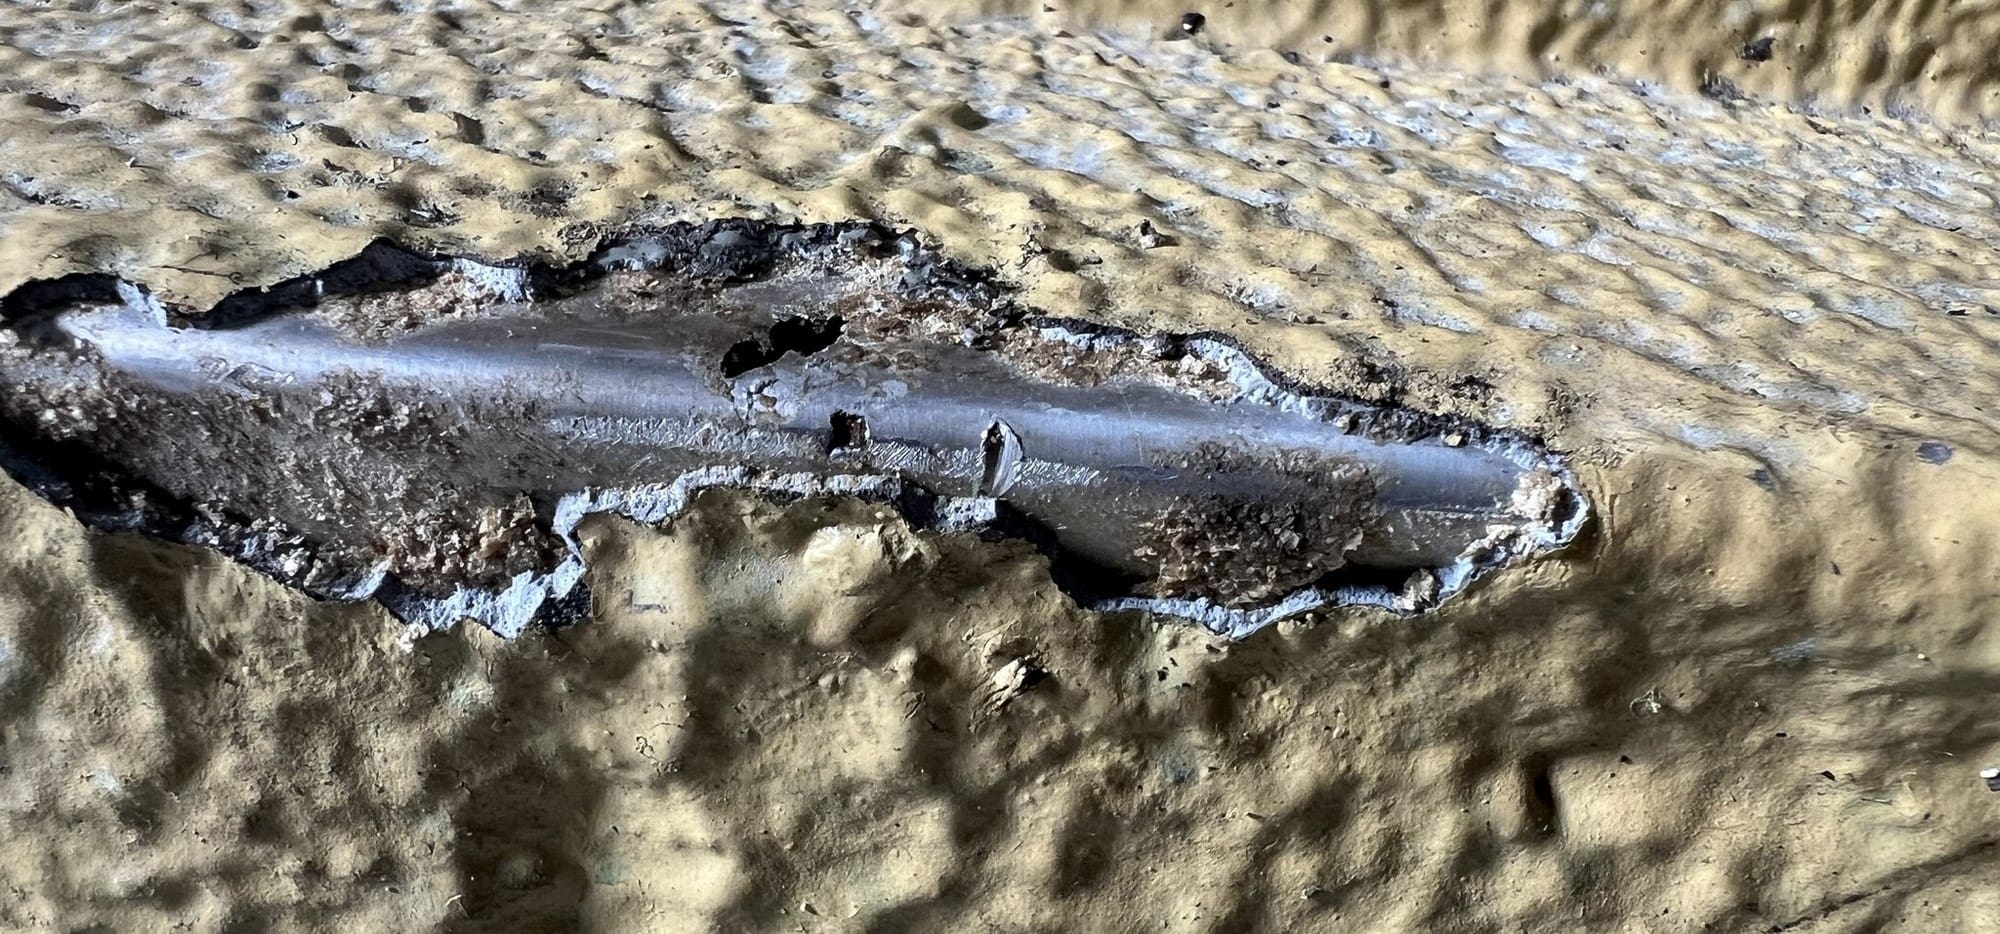
Once the fuel tank was removed from the vehicle it was evident that the leaking fuel had softened and lifted the protective outer coating around the tank, in turn exposing a a small hole in the aluminium, after closely inspecting the tank we found a number of other areas that had started to display similar signs of the protective coating beginning to lift, upon removal of the coating in these areas, further holes were found and it was clear we weren’t dealing with an isolated problem, the integrity of aluminium was compromised.
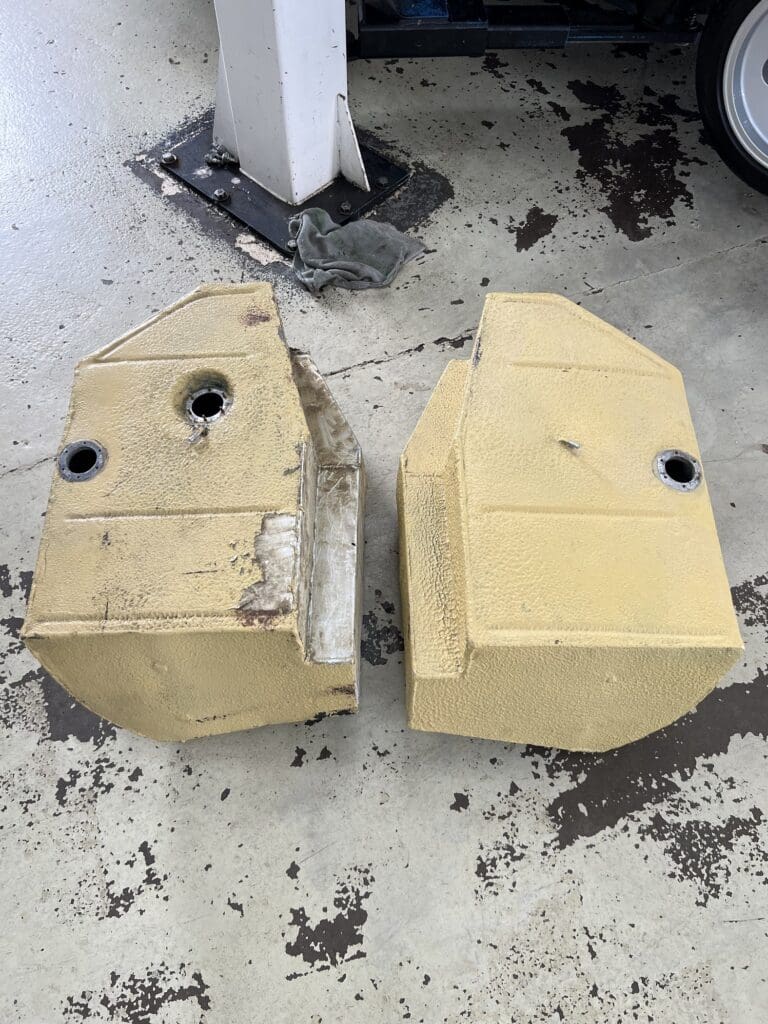
Having discussed our findings with the owner, it was decided that we should remove and inspect the second tank to assess its condition, whilst that tank appeared to be ok from a visual inspection, due to the age of the parts and concerns that the second tank may also fail in the near future, it was decided both tanks should be replaced. Lamborghini do not supply them any longer and therefore we set about fabricating a set of replacement fuel tanks.
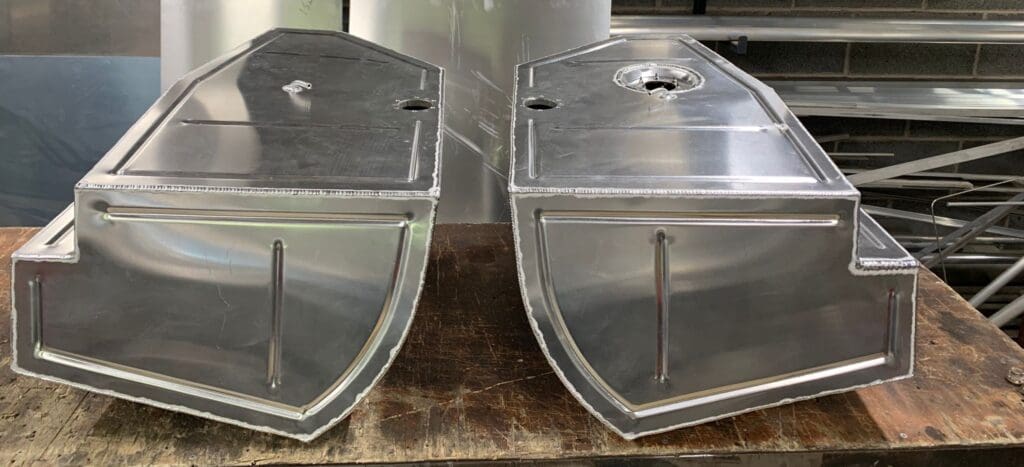
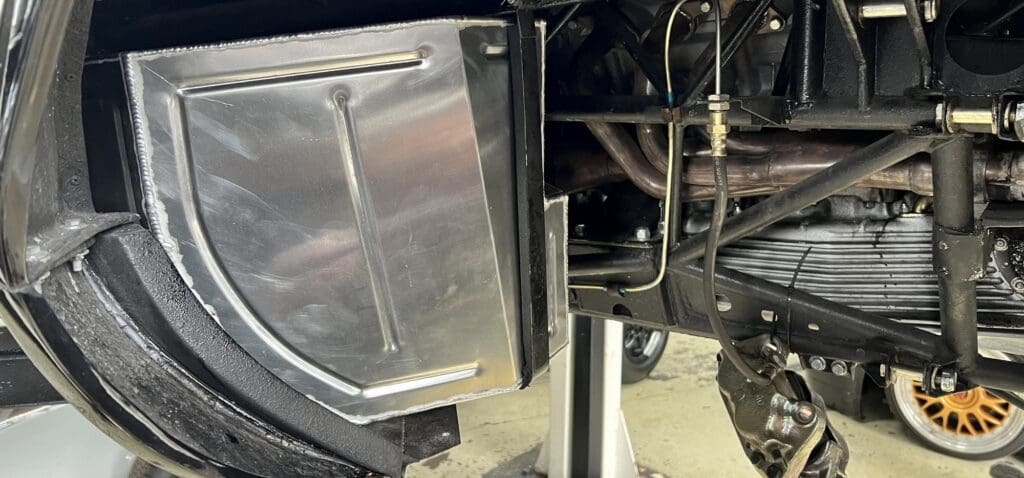
Due to the location of the fuel tanks in front of the rear wheels, a part of the rear suspension passes closely to the inner wall of the tank meaning replicating the exact shape and dimension of the factory tanks was crucial, being just a few mm’s off could mean disaster. Once the fabrication of the new fuel tanks was completed, a dry build was undertaken to ensure the fit was correct, pipework aligned and there was no possibility of the suspension arm coming into contact with the tank.
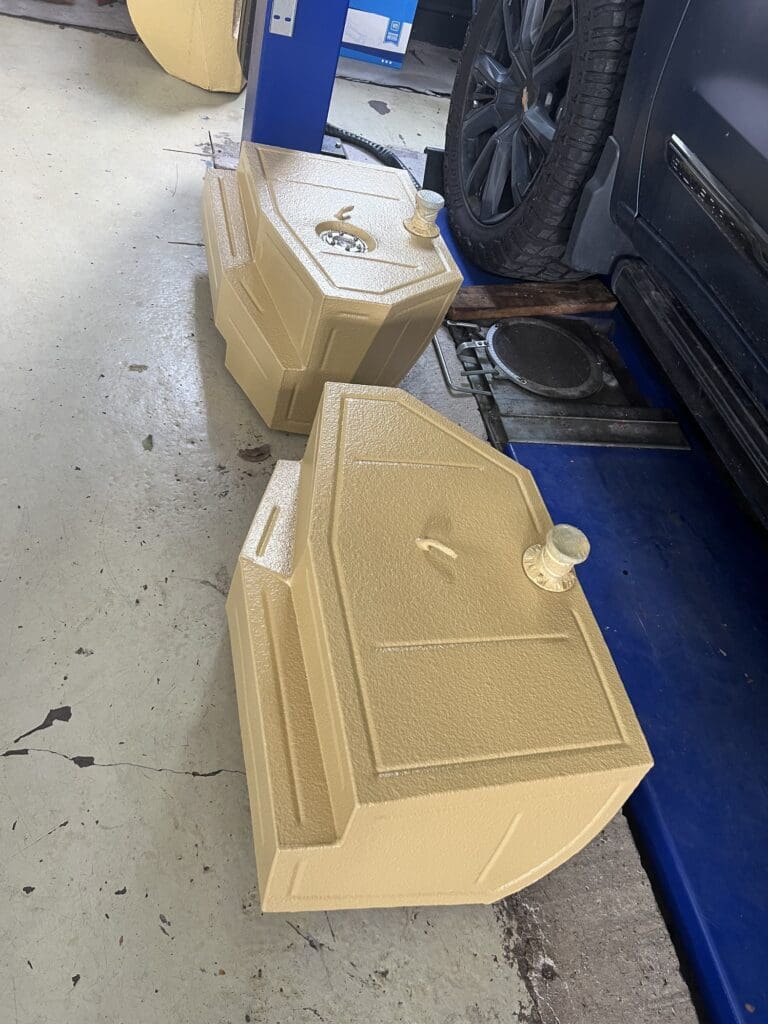
After a successful dry build was completed, the tanks were removed again for the final stage, finishing in a protective coating that replicated the original factory texture, before painting in the OEM colour to ensure the new tanks were also cosmetically as per the original factory fuel tanks.
With the finish line in sight, all that remained was to refit the freshly painted tanks, reassemble the suspension and running gear, carrying out a wheel alignment before completing an extended road test alongside one very happy owner.